DIY New Year’s Eve Decorations: Glitter, Shimmer, and Shine
It's always fun to band in a new yr, simply what sets a New Year'due south political party apart from all the others might just be the amount of sparkle and smoothen in the décor. In this article, we'll evidence how to DIY some of the simplest glittery New Year'south Eve celebration decorations, and then you tin can salve your time and energy for enjoying the festivities.
 View in gallery
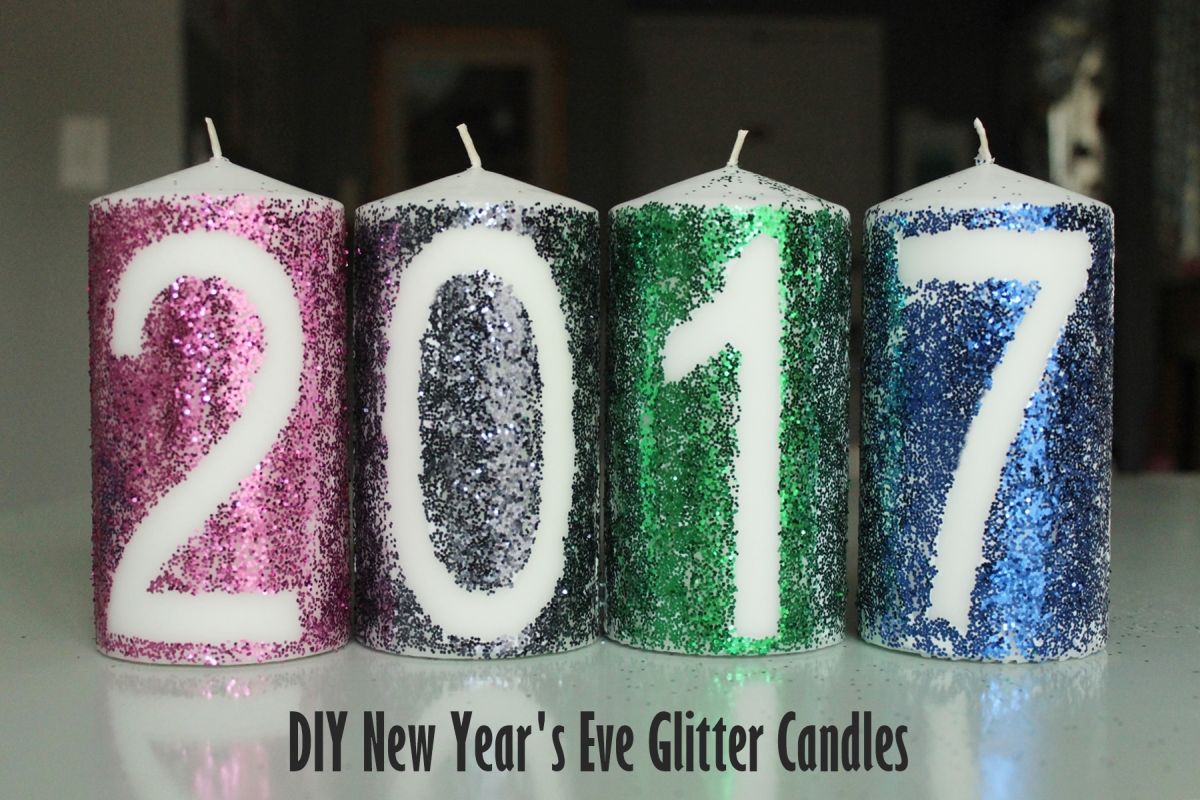
 These four DIY projects (New Year glitter candles, confetti balloons, gilded champagne flutes, and shimmery star garland) will add a festive touch on to your New Twelvemonth's Eve party. Enjoy!
DIY New Year Glitter Candles
 View in gallery
 This DIY project is fast, simple, and effective for a keen party experience.
 View in gallery
 DIY Level: Easy
 View in gallery
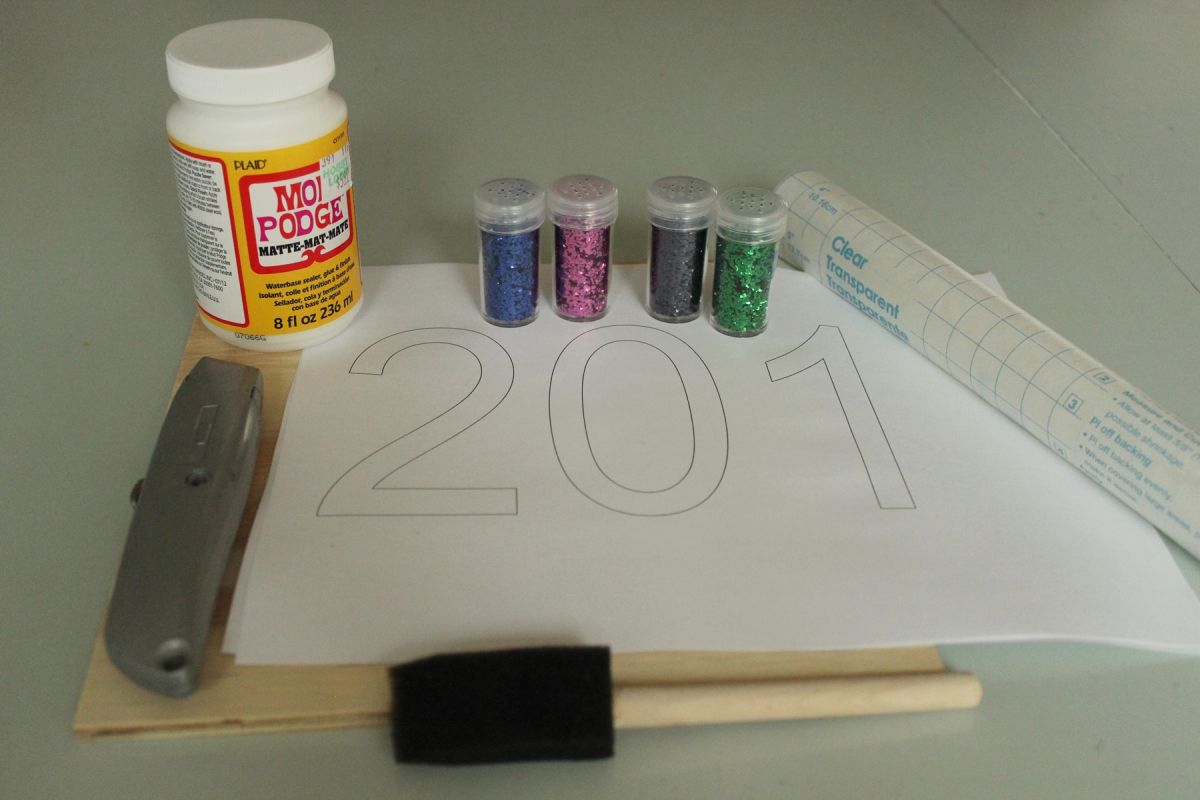
 Materials Needed:
- Clear contact newspaper
- Impress-out of new year's numbers
- Razor blade or Xacto knife
- Mod podge + foam brush
- Glitter
- Cut lath
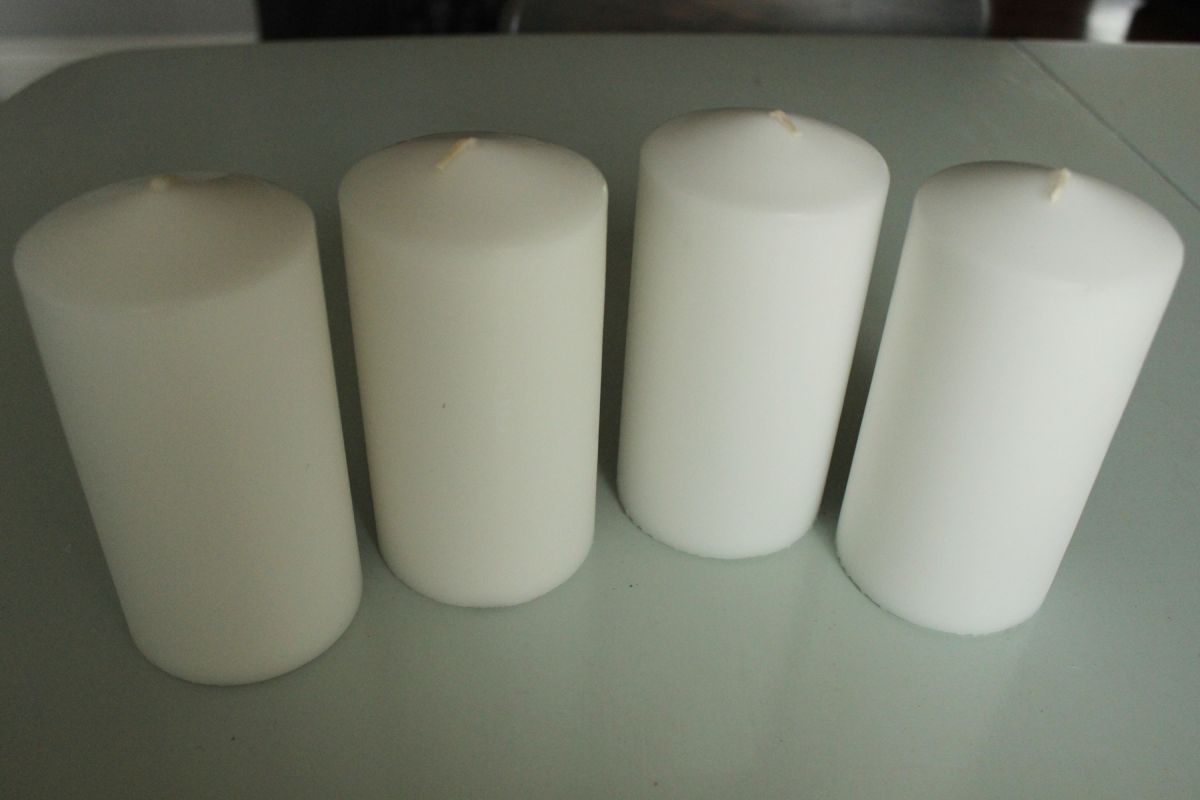
- Iv candles
 View in gallery
  View in gallery
 Begin by stapling (somewhat generously) your contact paper directly higher up your printed out digits. Make sure the articulate part (not the newspaper bankroll) is facing upward when you lot staple this, so that your numbers will be facing the right direction.
 View in gallery
 Lay out a cut board (or scrap piece of smooth plywood). Identify your stapled papers on peak of this cutting board.
 View in gallery
 Grab your razor bract (tip: brand sure the blade is perfectly sharp, or this will exist a frustrating project), and begin carefully cutting out the contact paper, guided past the printed out numbers underneath.
 View in gallery
 When y'all cut with a razor blade, don't hesitate to maneuver your cut papers so you are e'er pulling the blade downwards. Don't effort to go fancy with this – for safety purposes, shift the paper to accommodate your command.
 View in gallery
 After y'all've cut it out, set the number aside and move onto the next one until you've cutting out all four numbers.
 View in gallery
 Advisedly skin the backing off the contact paper.
 View in gallery
 Align, center, and place the contact paper number onto your candle.
 View in gallery
 Use your fingernails to gently (don't dent the candle wax) press down the edges of your contact paper. This is like to what you'd do with painter'southward tape if yous were painting. You want to seal the edges.
 View in gallery
 Dip your cream castor into mod podge and become ready to brush it onto the side of your candle. Make sure y'all have some paper or something underneath your workspace, equally it'southward well-nigh to get glitterized in a major style.
 View in gallery
 Piece of work in sections of near 1/3 of the candle at one time, and brush oh a moderate amount of modernistic podge. When y'all're "painting" around your contact paper, still, try to keep the heart of the contact paper free of mod podge. This is mainly so yous tin can notice the contact paper later; believe me, it gets tricky to find it again afterwards the glitter is applied.
 View in gallery
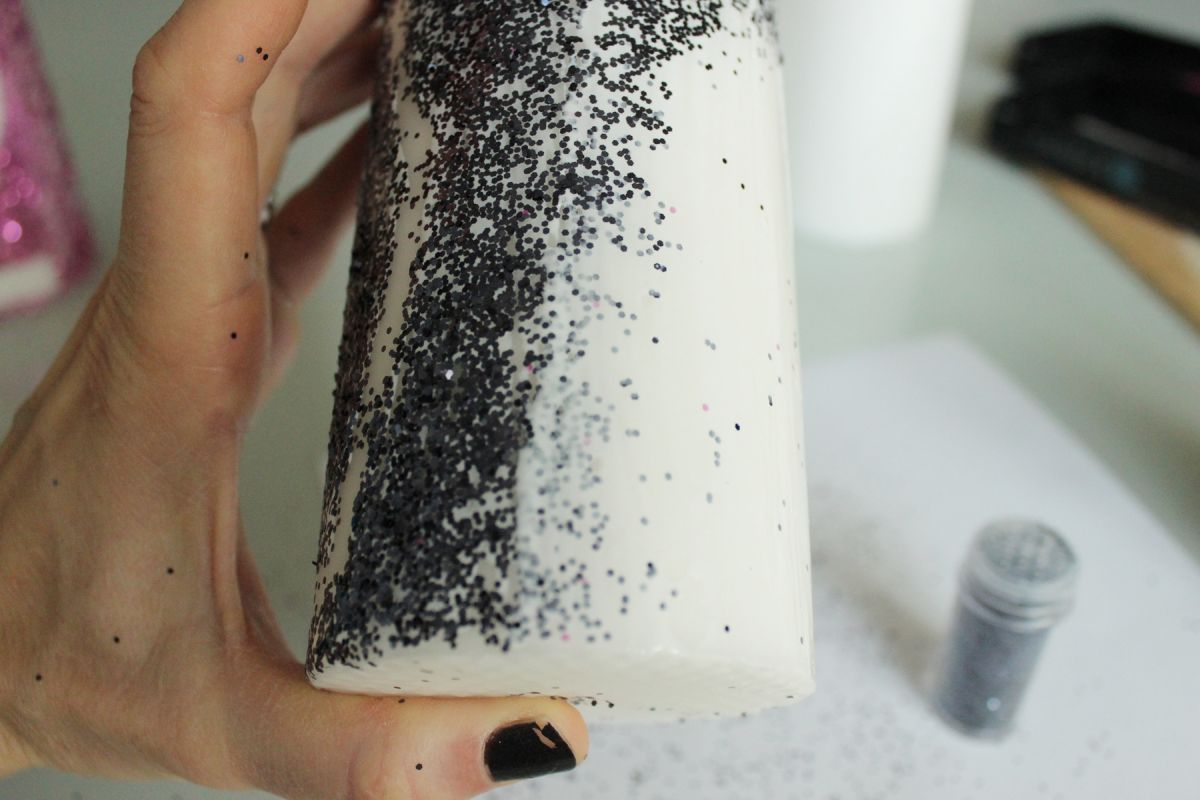
 Working quickly, milk shake the glitter over and over your mod podged area. Yous want the glitter to be super thick, because this is what volition showcase your numbers the all-time.
 View in gallery
 As soon equally you lot've solidified the glitter over your mod podged section, simply rotate the candle a bit and foam brush some more mod podge onto the next third (or and so) of your candle. Be certain to apply modernistic podge over the terminate section that yous but finished; this will cover some glitter bits forth the edge, but mod podge dries clear, and so it'll brand the transition seamless in the long run. Also, I noticed the modern podge would sort of dewdrop upwards on parts of my candle, which left tiny sections of bare candle. I simply spread a footling extra mod podge over those sections (even after glitter was applied) and shake more glitter over top.
 View in gallery
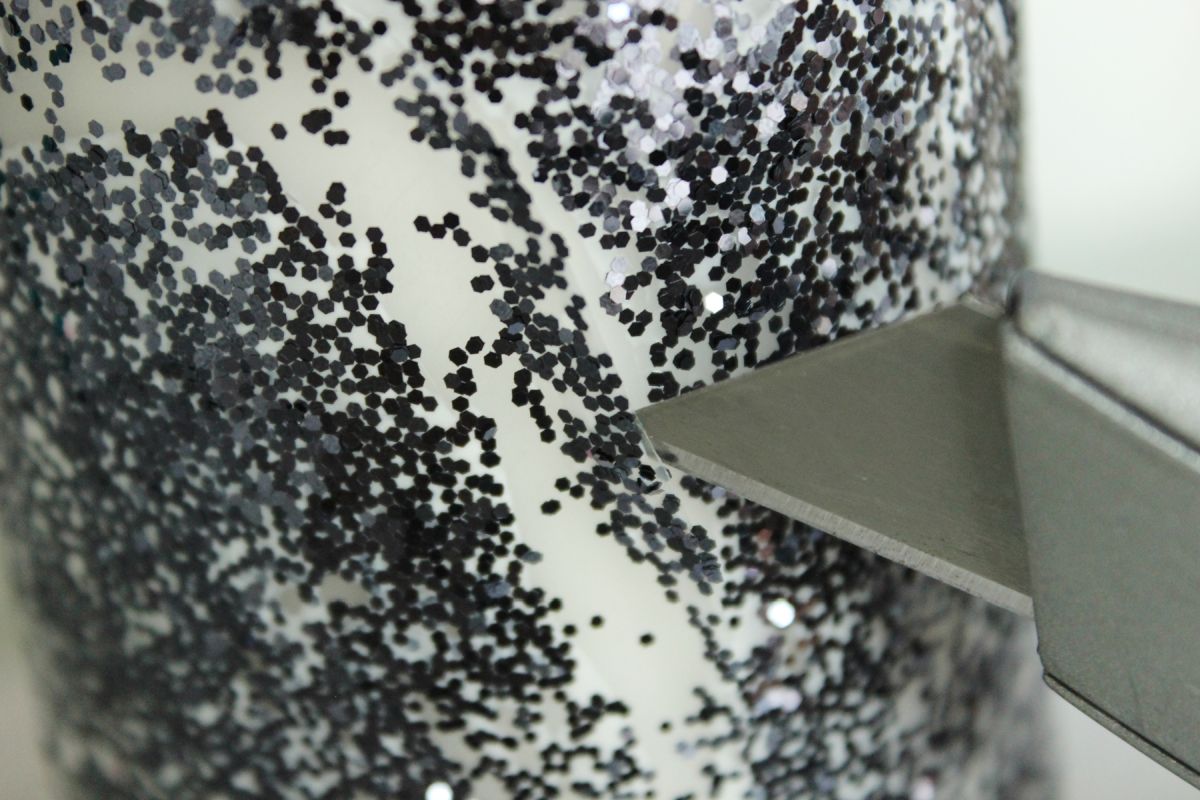
 Every bit before long equally yous've covered the entire candle in glitter, before the mod podge dries, it's time to remove the contact newspaper number. Utilise the tip of your razor blade to raise an edge of the contact paper.
 View in gallery
 Pull the contact paper off completely. For best results, pull the contact paper off at an angle so it doesn't peel upwardly any modern podge.
 View in gallery
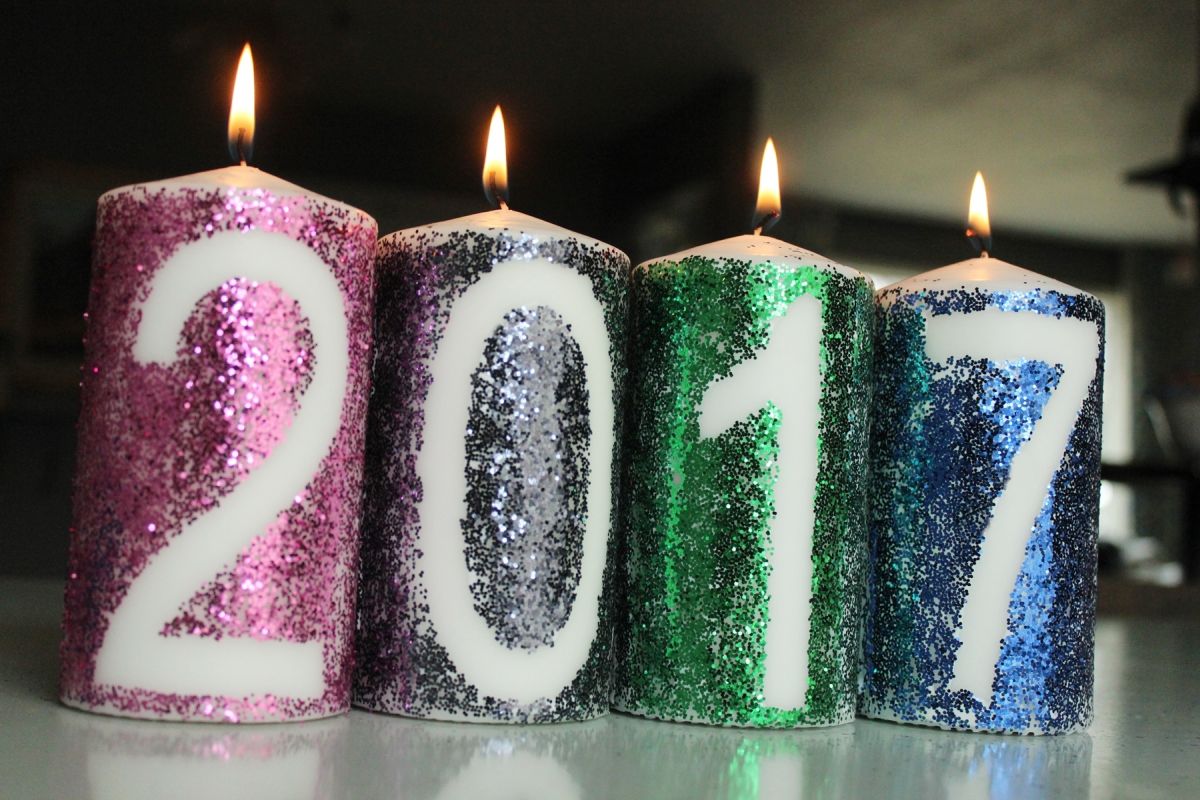
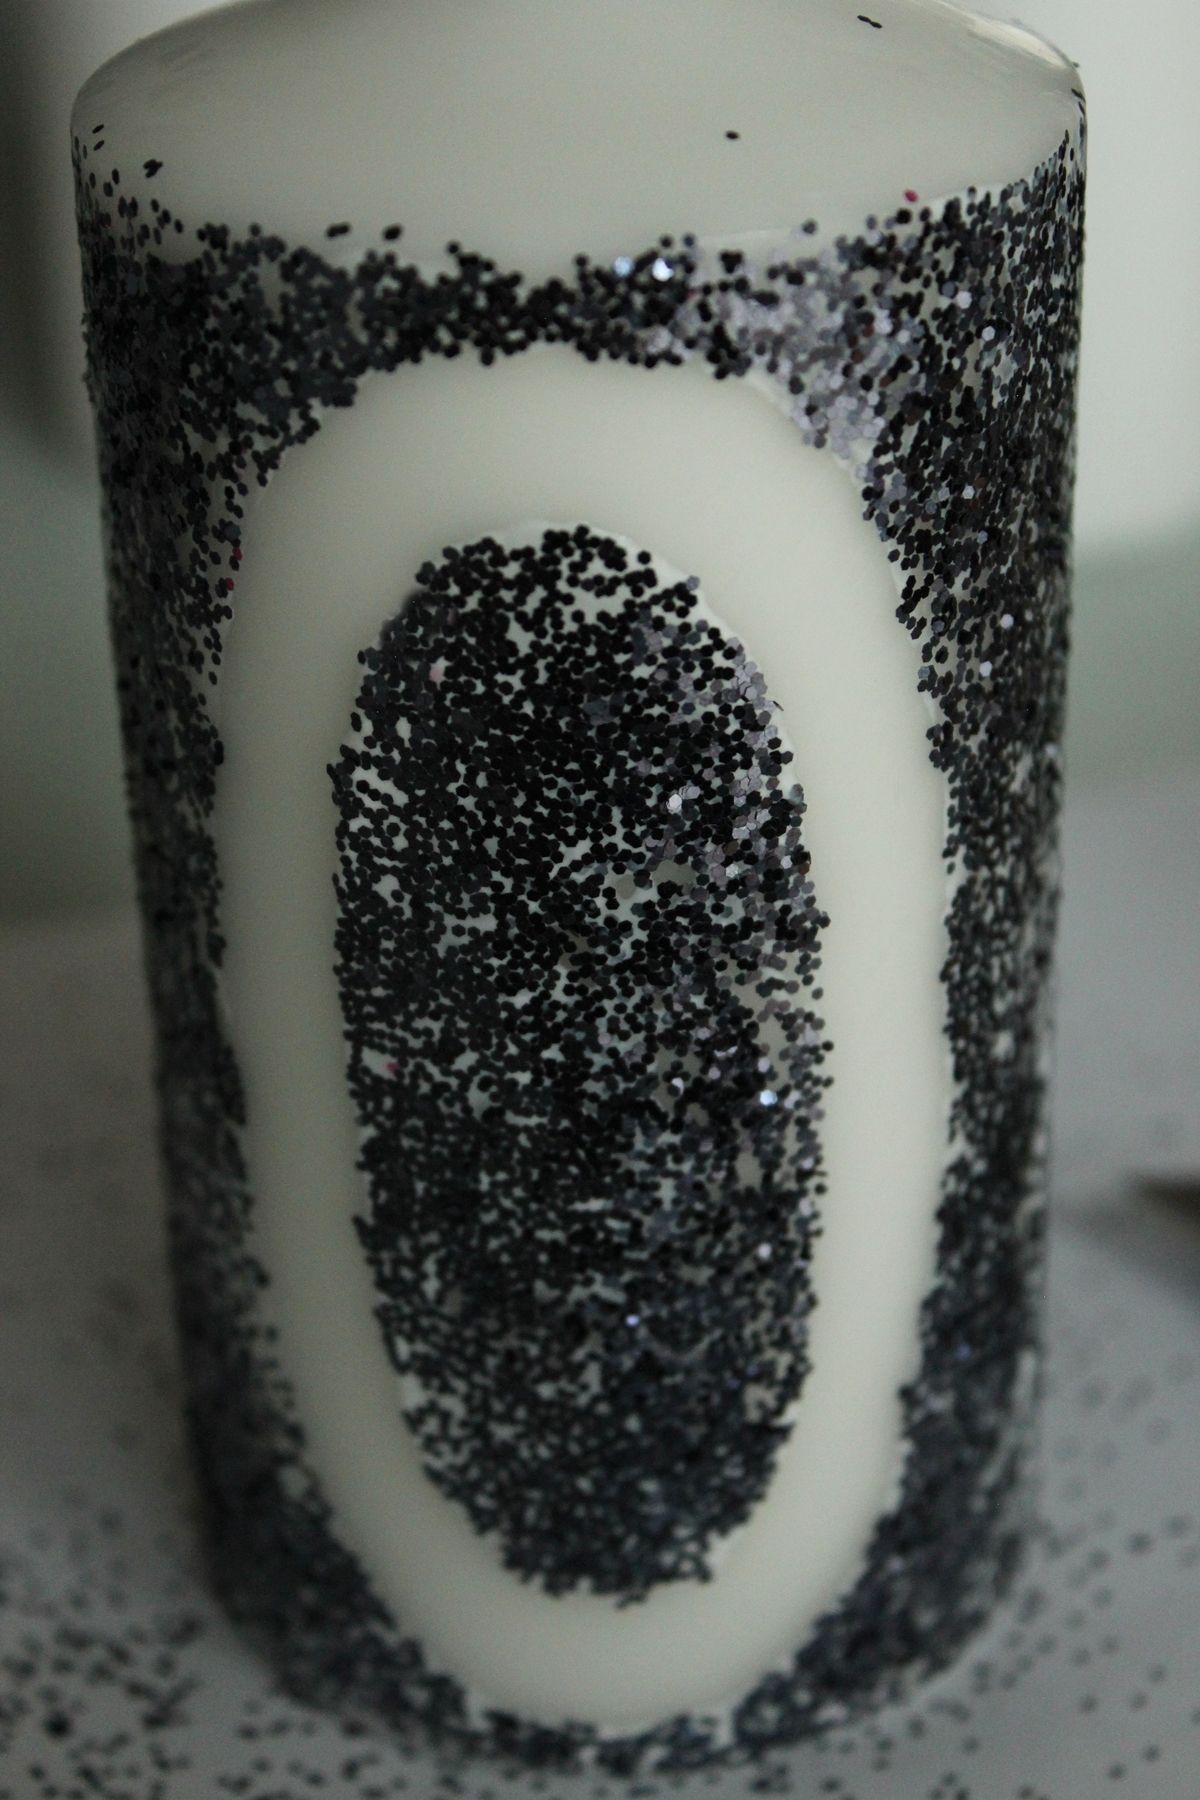
 Viola! A glitterized candle that looks amazing!
 View in gallery
 Continue on, repeating all these steps, for every candle.
 View in gallery
 I take to say, every bit far as DIY projects go, this i is only so much fun to create!
 View in gallery
 Gear up these sparkly, glittery candles onto your New Year's Eve political party refreshment table, or on the mantel, or anywhere where lighted candles volition exist safe. So let them ring in the new year along with you. So fun.
 View in gallery
 Have a wonderfully sparkling (and prophylactic) New Year!
 View in gallery
 DIY Confetti Balloons
 View in gallery
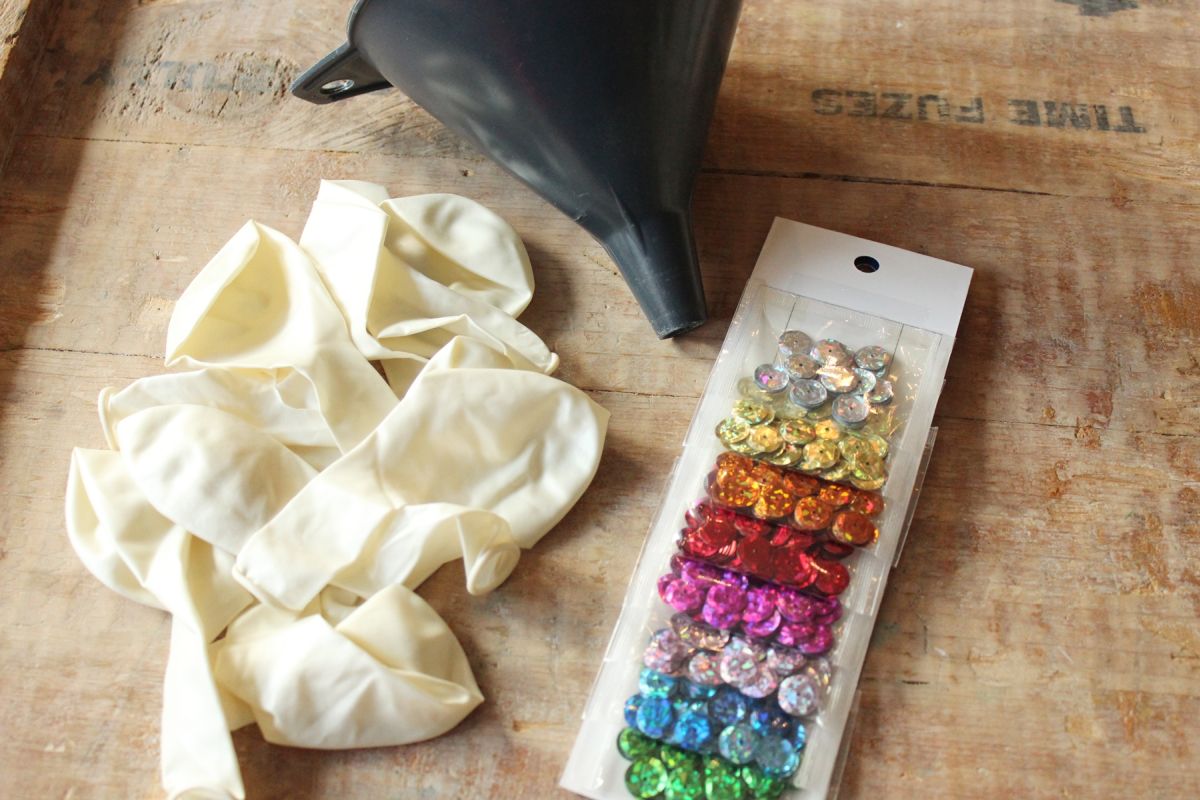
 Materials Needed:
- White pearl balloons
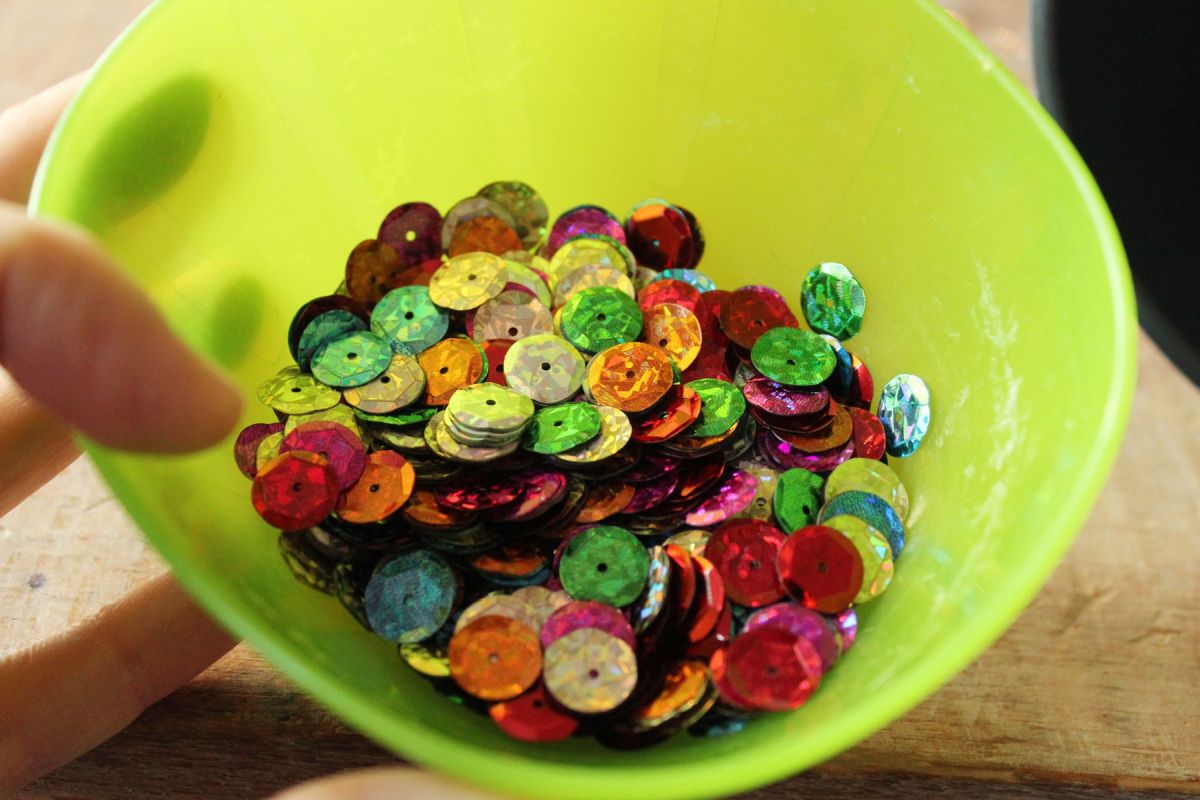
- Sequins or glitter
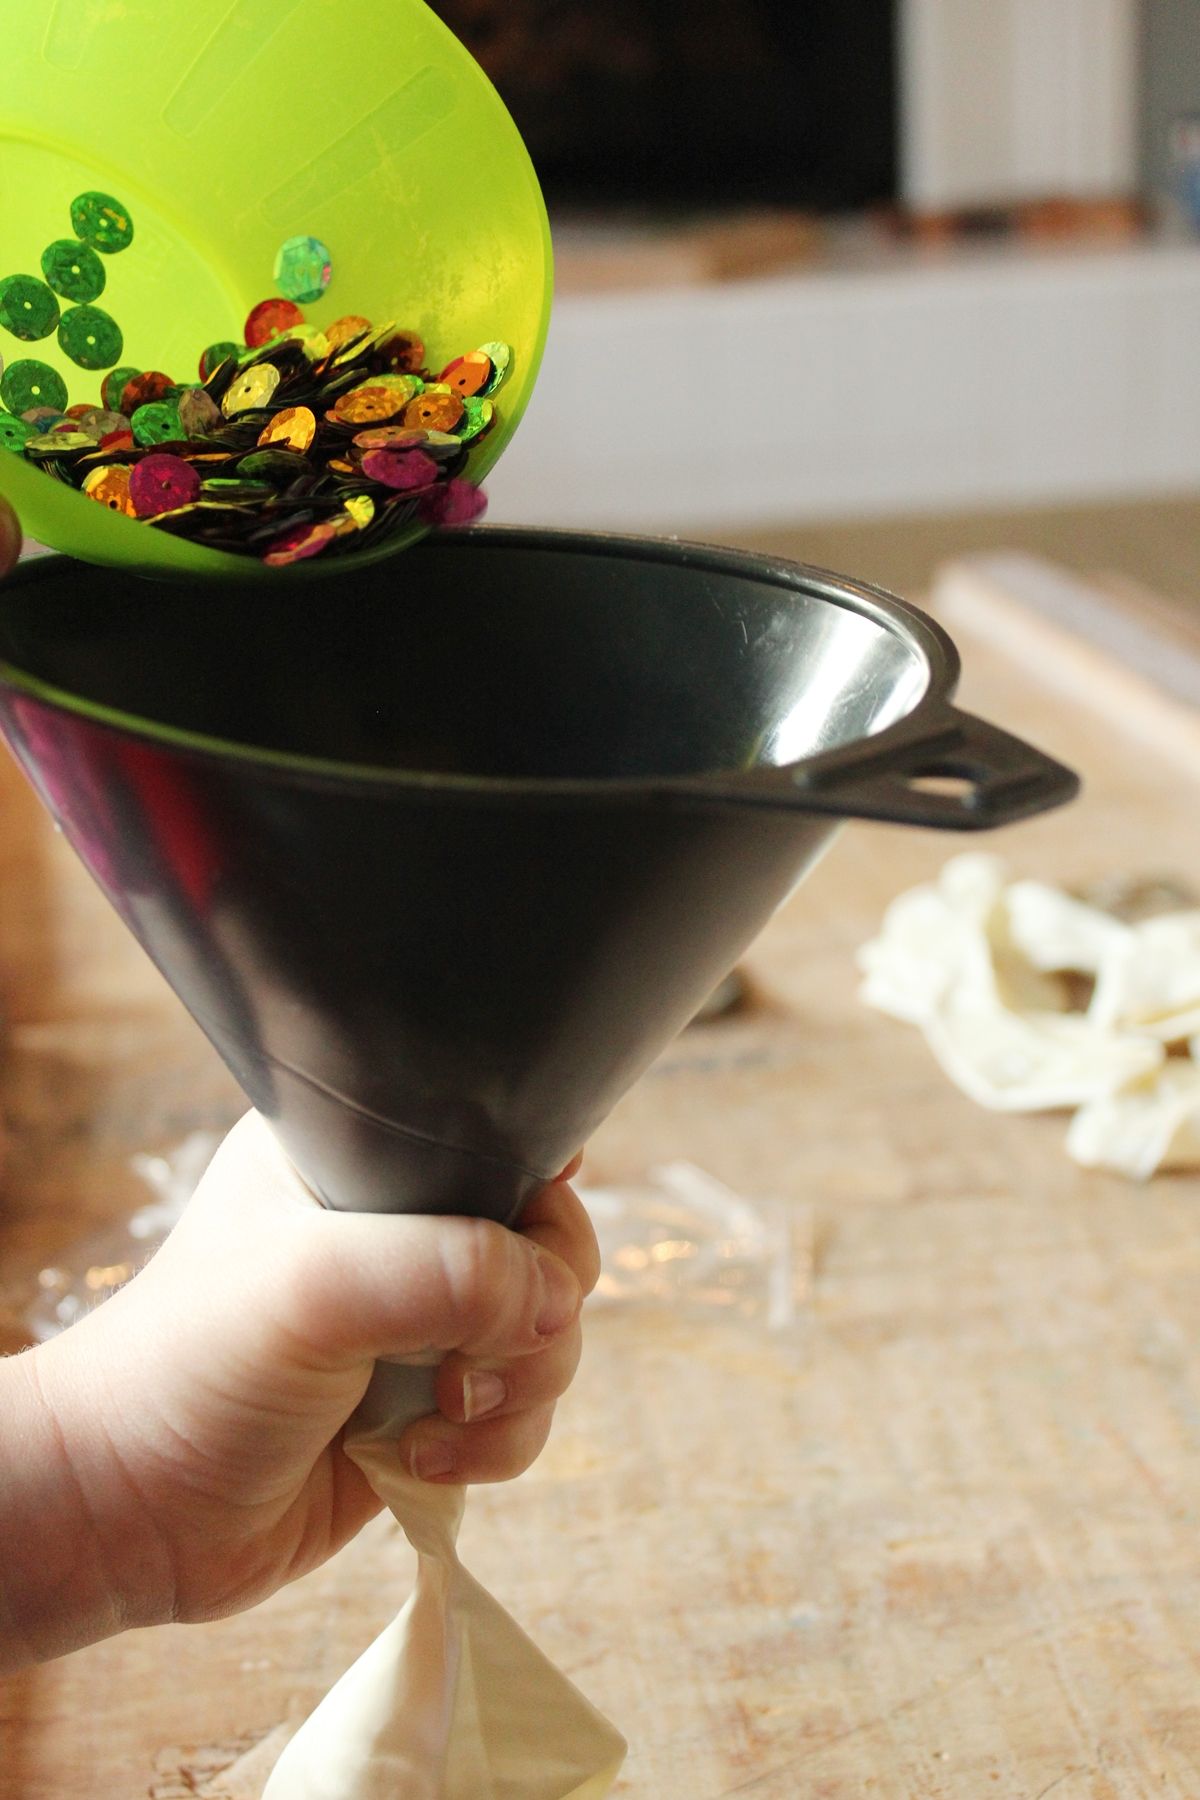
- Pocket-size-nosed funnel
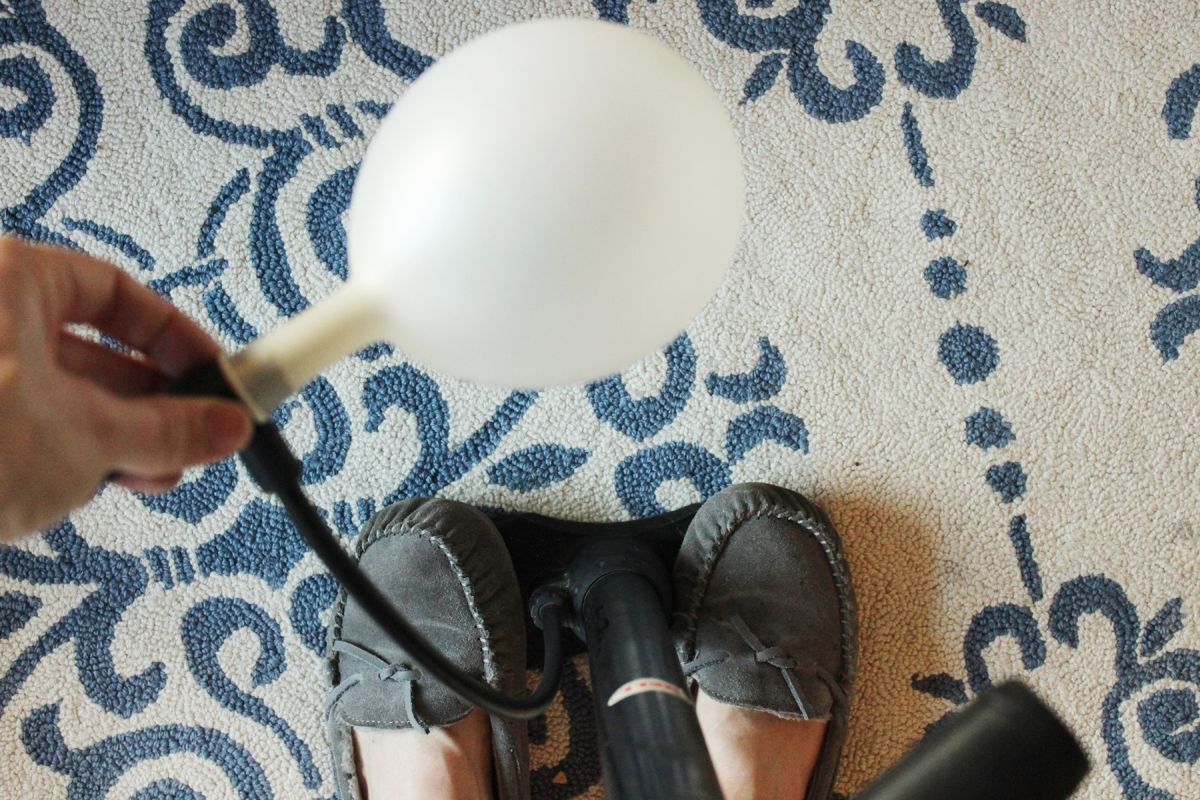
- Wheel pump (optional)
 View in gallery
 Stick a balloon onto the nose of the funnel.
 View in gallery
 This example uses sequins, non glitter, because sequins are easier to make clean upward than glitter due to the static factor.
 View in gallery
 Notwithstanding, this also ways that they don't stick as easily and consistently to the sides of the balloons' insides every bit glitter does, so choose your airship filling based upon what you're going for.
 View in gallery
 Get your balloon fillings into a bowl and mix, if needed.
 View in gallery
 Have an eager helper hold the balloon securely to the funnel. (Or do information technology yourself. But if at that place's a iv-year-old within a block radius, chances are, you've got yourself an eager helper.)
 View in gallery
 Cascade the sequins/glitter into the balloon through the funnel until you accept enough filling in the balloon to see your needs.
 View in gallery
 This case used nearly a tablespoon'south worth of filling (sequins) inside each balloon. (Notation: This seemed perfect, based upon a premature celebratory airship's popping and the resulting sequin explosion. Just change equally you want.)
 View in gallery
 Blow up the balloon yourself, utilize helium, or hook information technology upward to a bicycle pump (*winner!*) to make full it.
 View in gallery
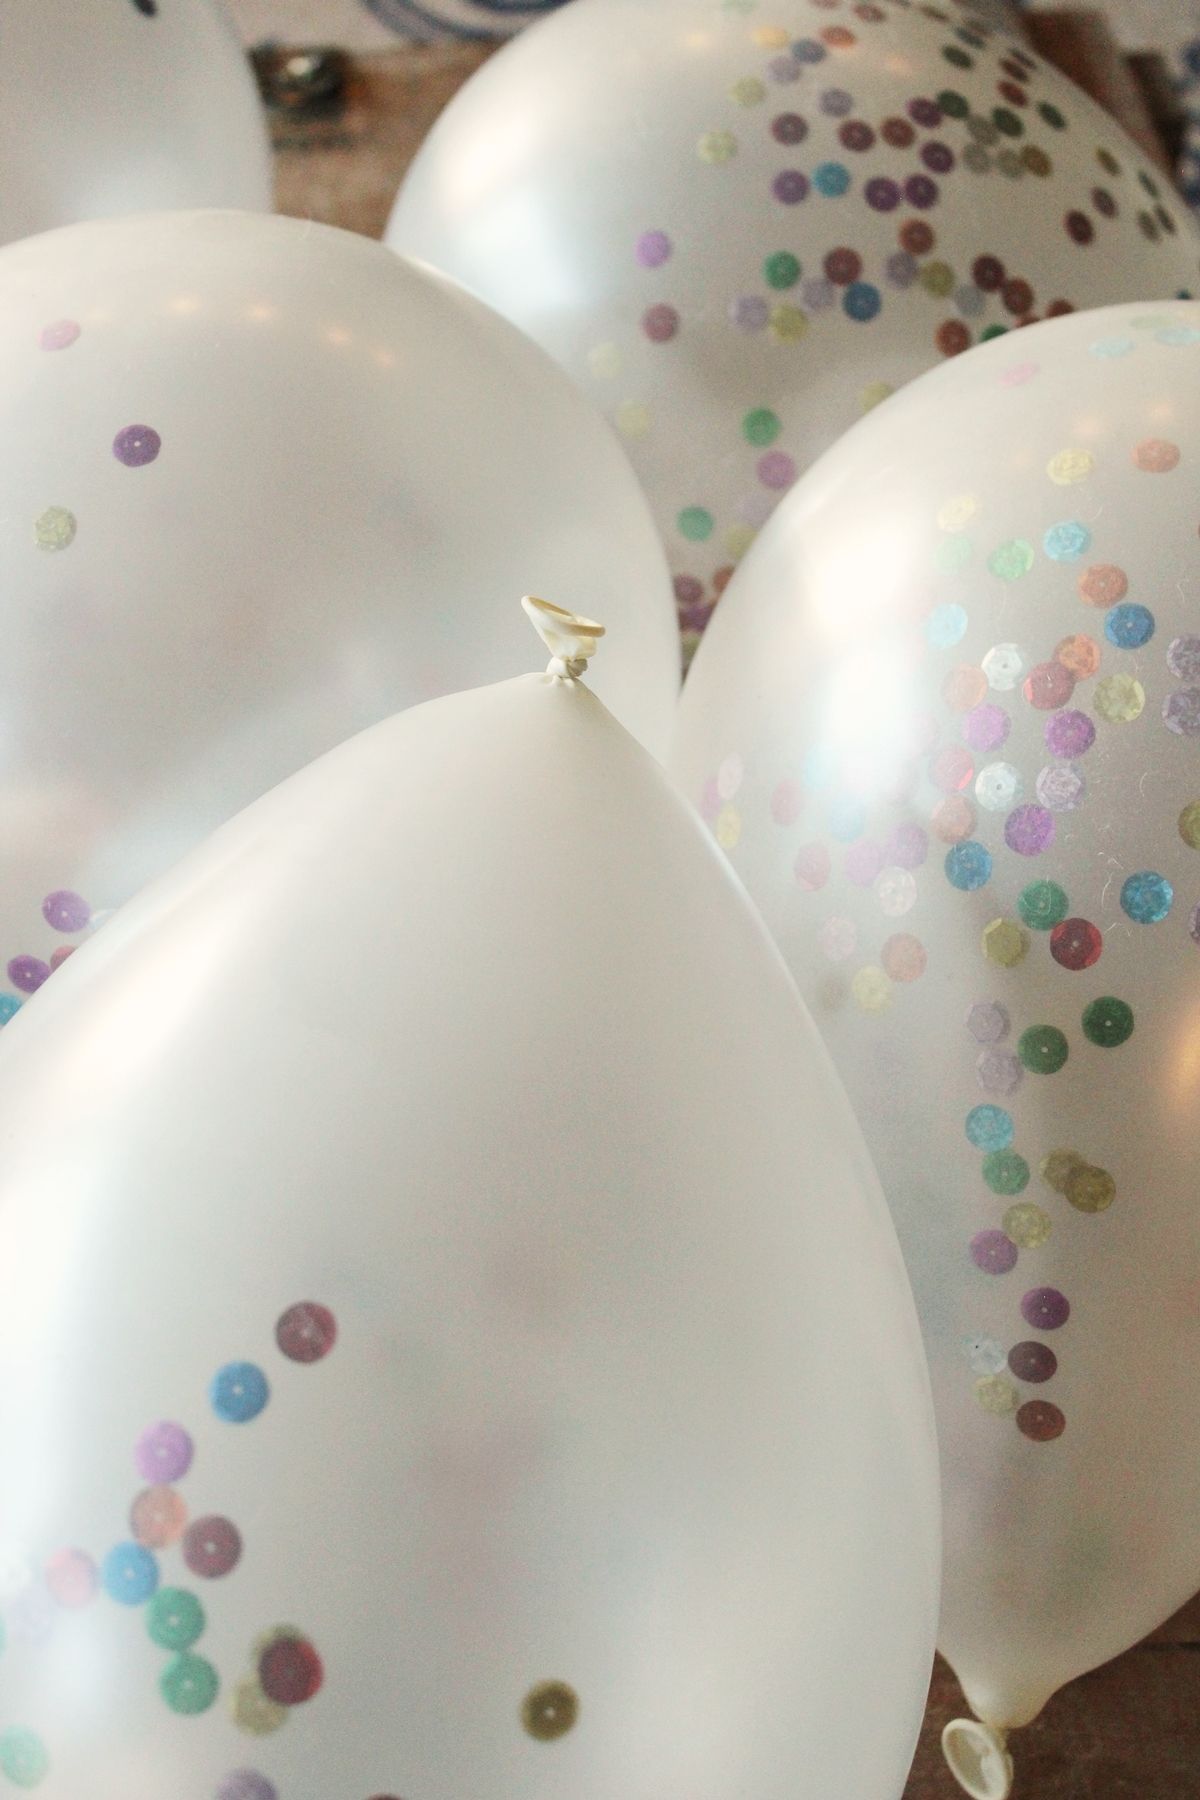
 I honey the way the rainbow sequins look through the white pearl balloons. Very festive.
 View in gallery
 If you notice the sequins settling on the bottom of your balloon(s), there's an easy fashion to spread them around the within of the balloon and have them stick at that place for awhile.
 View in gallery
 Simply rub the balloon on something that volition increase its static electricity – your caput or a wool carpeting, for example.
 View in gallery
 That static will help the sequins (which are heavier than glitter) stick to the sides, which makes no difference when it comes time for the balloons to explode but looks more than festive until that betoken.
 View in gallery
 With a confetti balloon for everyone, you're set to ring in the new year's day.
 View in gallery
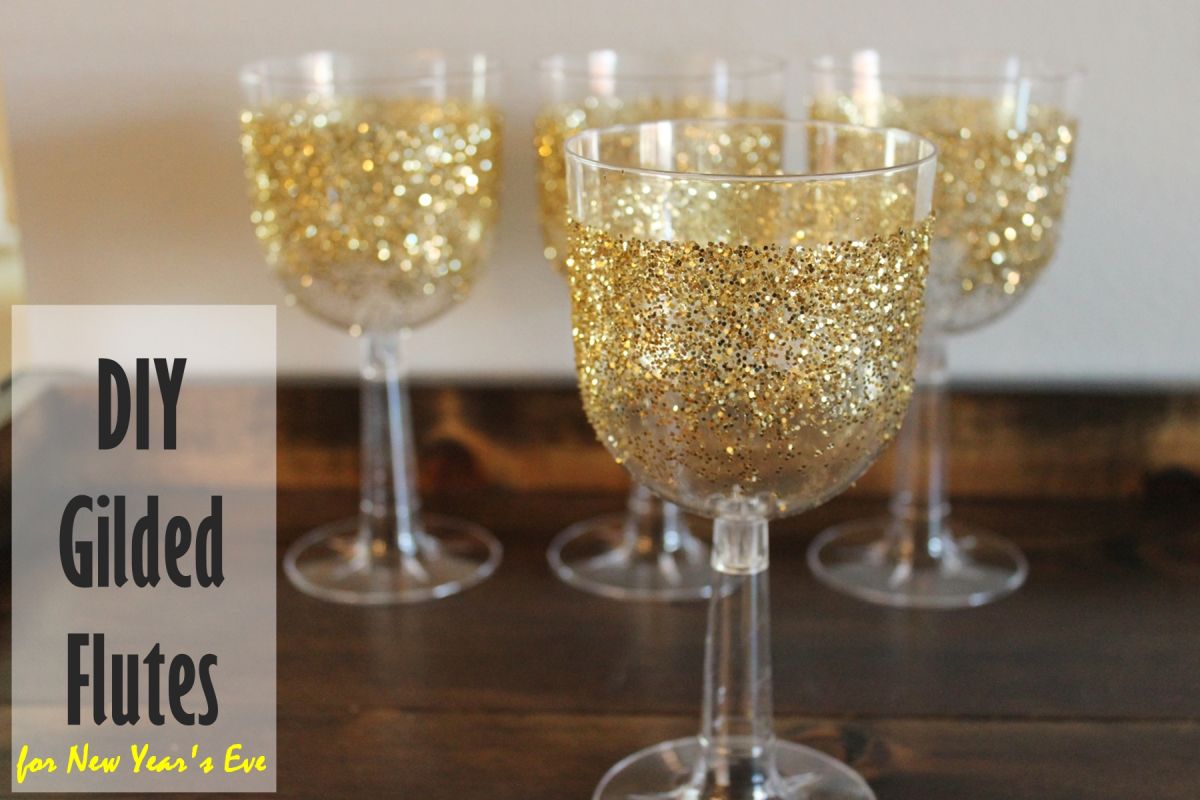
 DIY Gilded Champagne Flutes
 View in gallery
 Note: I've seen lots of tutorials for prepping real glass champagne flutes for a new year's day's eve (or similar) party, just I didn't want to mess with our drinking glass stemware. So I bought a pack of plastic wine glasses at a party supply store and volition prove how to bedazzle those for your New year's Eve celebration. Because, really, these seem like a i-fourth dimension employ thing to me.
 View in gallery
 Grab some painter's record and tape off the top three/4″ of your glass (which is plastic). This doesn't take to be an verbal distance – the thought is to provide plenty blank space for your lips so y'all're non drinking glitter when toasting time comes.
 View in gallery
 I constitute it difficult to line upwardly the ii ends of the tape precisely when they met on the other side of the drinking glass. No worries; simply wrap the tape to line upward as best as yous can.
 View in gallery
 So rip a smaller piece, 2"-iii" long, and lay information technology over the uneven connectedness to make it equally smooth and flat as you can. It may not be perfect, just it'll exist good enough if you can get it flat.
 View in gallery
 Use your fingernail to secure the edge of your painter'southward tape to the glass, all the manner around.
 View in gallery
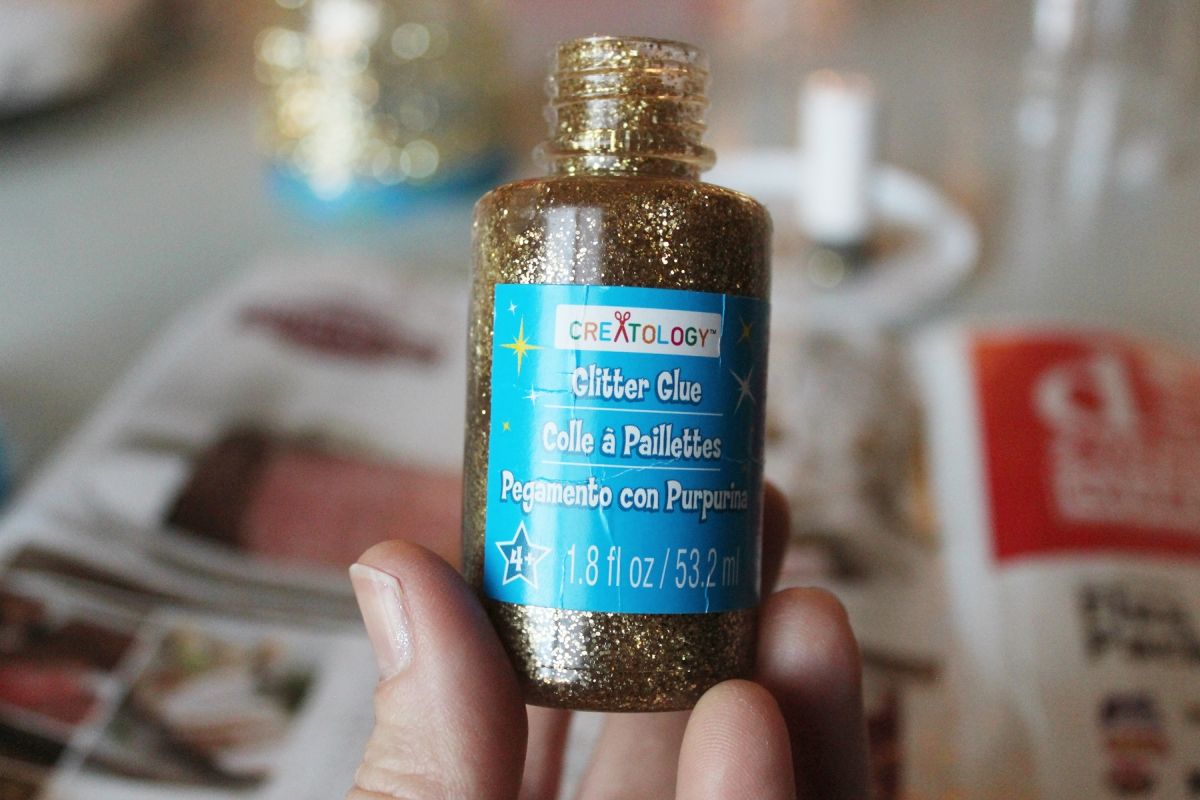
 Take some glitter gum. I chose gold glitter mucilage instead of mod podge here considering I wanted some fine gold glitter along the lower part of the glass, where the bigger glitter wasn't added. This variance helps with the ombre upshot, from heavy glitter upward top downward to fine glitter below.
 View in gallery
 Dip a foam pouncer or foam brush into the glitter glue.
 View in gallery
 Spread the gold glitter gum all over the outside of your drinking glass.
 View in gallery
 It'll probably wait a niggling messy at this signal, just don't worry. You lot won't notice the bumps every bit far every bit I tin can tell.
 View in gallery
 Hold the stump of your glass (where the stem will attach afterwards), and tip it on its side. Gently pour glitter over the glass in a controlled mode then the nearly glitter lands nearer the peak of your drinking glass and less glitter lands near the bottom.
 View in gallery
 Spin the glass effectually, shaking the glitter on in this way, until you lot've completed the whole glass. Check for consistency in your ombre glitter coverage.
 View in gallery
 Gently tap the stump on your newspaper to remove any backlog glitter.
 View in gallery
 Flip the glass upside downwards, and set up it down while you work on the other glasses.
 View in gallery
 When you've completed all four glasses, but earlier the glitter glue dries completely, you'll want to remove the painter's tape. Pull it off at almost a 45-degree angle from the surface of your glass.
 View in gallery
 Let the drinking glass dry, then attach the stem to each glass stump.
 View in gallery
 Heighten a drinking glass to a DIY project completed!
 View in gallery
 Here's a closer expect at the gilded appeal.
 View in gallery
 These are perfect for anyone who'south celebrating, even children! So fancy.
 View in gallery
 My household is smitten with these fun DIY golden glitter party spectacles.
 View in gallery
 DIY Shimmery Star Garland
 View in gallery
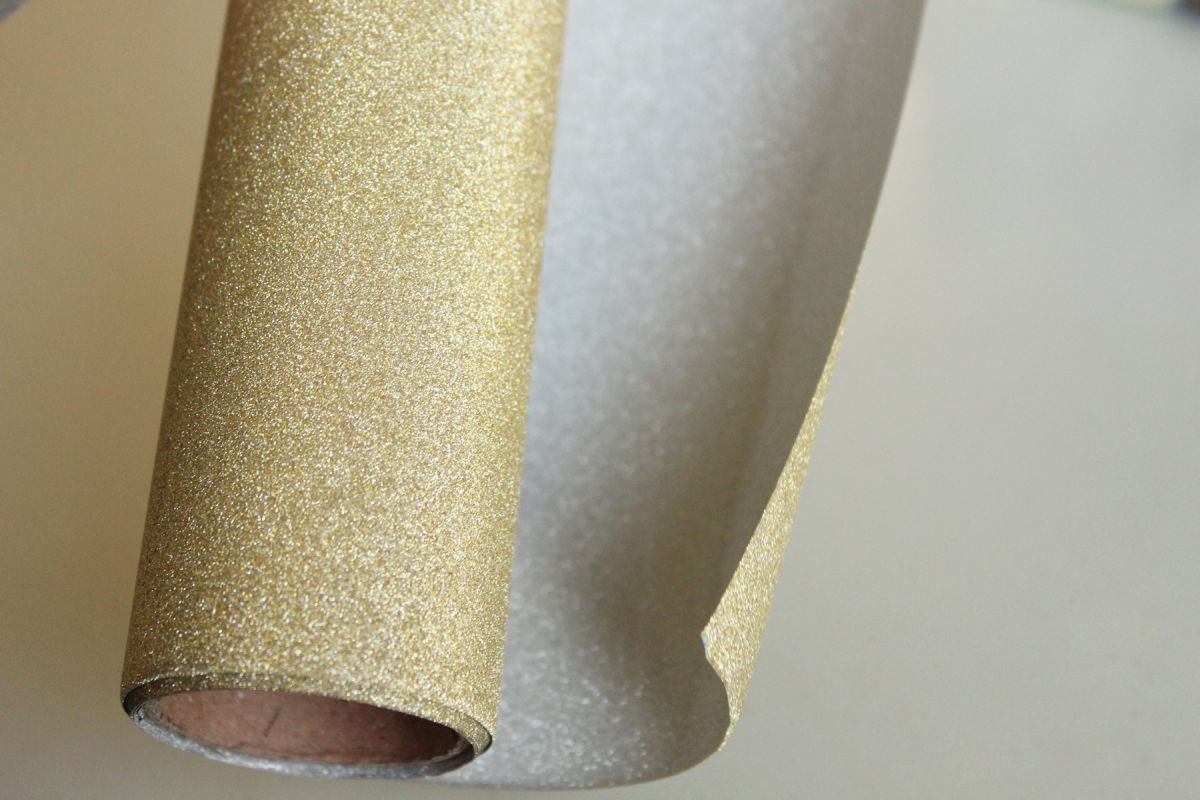
 Acquire a shimmery, glittery chip of paper for this next project. I recommend this glitter newspaper curlicue because it'southward perfectly gold on the outside…
 View in gallery
 …and glittery argent on the within. You'll want both sides of your garland to sparkle, and then if your paper is merely shiny on ane side, yous'll need to cut out twice as many stars and adhere them back-to-back.
 View in gallery
 Grab the largest star punch you lot tin get your hands on.
 View in gallery
 Use the star punch to cut out billions and billions of stars. Okay, perhaps not billions. Simply seriously. Settle in. Yous're (probably) going to want lots.
 View in gallery
 Exist sure to empty your star punch oft to keep it from getting jammed.
 View in gallery
 When you have a pile that looks sufficient, you lot tin can start putting your garland together.
 View in gallery
 Thread some neutral, light thread onto your sewing machine. (This example uses a kind of khaki tan color of thread, which was a skillful compromise for both the aureate and argent.) Pull out virtually 10" or so of thread at the start so yous accept some thread to tie the garland onto something if you are then inclined.
 View in gallery
 Sew the stars together with the largest baste stitch your machine tin do. Space them every bit you want; this example used about a 1/2″ infinite between each star. Besides, it doesn't affair if you sew them all with the same sides facing upward; the thread will spin the garland anyway, so you'll end up seeing both sides no matter what you do. If yous're doubling upward your stars considering the back side isn't sparkly, be sure to do that as you lot're sewing hither.
 View in gallery
 Keep the garland from getting tangled on itself every bit you're sewing.
 View in gallery
 Sew until y'all're done. You tin can practice multiple garlands to hang equally a sort of photo berth properties, you can sew i behemothic long garland to hang on the mantel (doubled or tripled up), or you can sew them in whatever germination brings you joy.
 View in gallery
 I love the perfect imperfection of this starry garland. It's perfect for a new year's eve party, only it's also versatile – it would work great at a altogether party, likewise, or graduation celebration.
 View in gallery
 However you lot cull to brandish your sparkly star garland, be certain to store information technology securely, wrapped around a large slice of cardboard with the stars lying flat so they don't go aptitude.
 View in gallery
 I like the garland draped over a mirror, which is where information technology's landed at my business firm. For today. Considering these things tend to travel around.
 View in gallery
 Have A Very Happy New Twelvemonth!
Source: https://www.homedit.com/diy-new-years-eve-decorations/
0 Response to "DIY New Year’s Eve Decorations: Glitter, Shimmer, and Shine"
Post a Comment